Generate Minutes Using AI Option - Text-Based Documents
Generate Minutes Using AI - Text-Based Documents
The Generate Minutes Using AI option allows you to quickly build meeting minutes from transcription files.

Step 1: Upload a Meeting Transcription File
When you select Generate Minutes Using AI from the Minutes Wizard, a pop-up will appear asking you to upload a transcription file.
Accepted file types:
- Audio files: .mp3
- .docx (Word)
- .txt (Plain Text)
- .vtt (Video/Audio Transcript)
If you are uploading an audio file, please learn more here.
Once you’ve selected your file, click Continue.
Step 2: Agenda Item Picker: Assign Your Document to Agenda Items
Once your transcript is uploaded, you’ll need to select the parts of the text you want to include in your minutes and link them to the right agenda items.
Highlight the text. Click and drag to highlight the exact section of the transcript you’d like to use.
Your text won’t be assigned to an agenda item unless you highlight it first and then add it.

Match this text to agenda items. On the bottom-left of your screen, you’ll see your list of agenda items.
Tick the box next to the relevant item and click the green “Add Agenda Slot” button (on the right).
The highlighted text will now be linked to that agenda item. A small box will appear in the Words column, showing the word count of your selection. This confirms that the text has been captured.
You can repeat this process for as many sections as needed (adding one section at a time).
To remove a slot, click the orange bin icon.
Step 3: Use the Ask AI to Generate a Report
Now you can let AI assist in drafting your minutes.
By default, AI will create a summary of the selected text.
You can also provide your own instruction, e.g. “Make this into a bullet point list.”
To do this, under your text, click Ask AI.

Edit the generated text directly in the text area if needed.

Optionally, you can also dictate your own content.
Click the Dictate button (black square). It will switch to Recording (red circle).

Speak into your microphone. Click again to stop recording.
Step 4: Minutes Options: Add Extra Details
Next, you can choose whether to include additional details in your minutes.
Tick any options you’d like to include:
- Attendees
- Motions
- Tasks

Step 5: Finalize Your Minutes
When you’re ready, click Finish to generate your minutes.
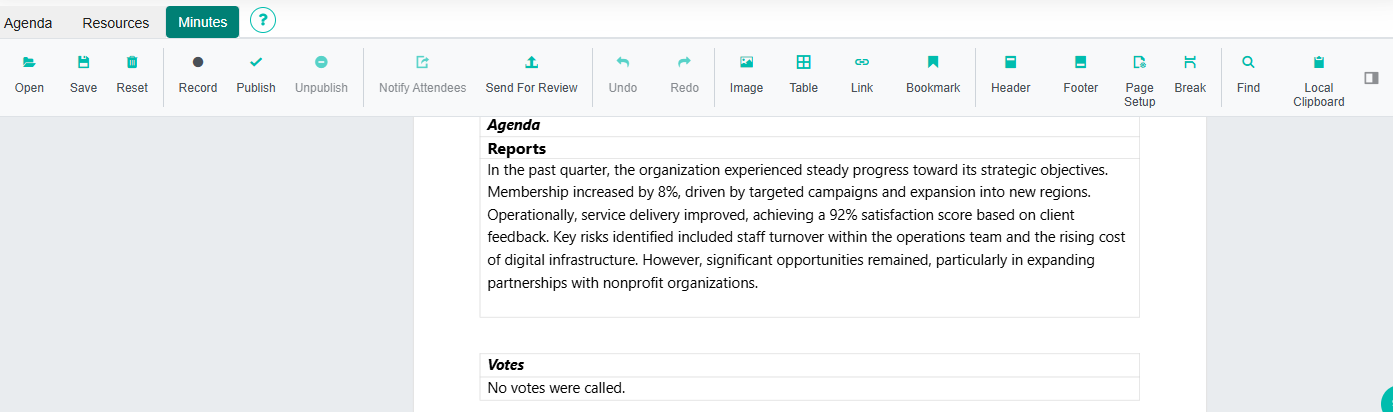
Your draft minutes will now appear and remain fully editable.
Important: Resetting the minutes will clear the entire document.