How to Add Past Meetings to BoardCloud
How to Add Past Meetings to BoardCloud
If you need to add historical meetings to BoardCloud, such as previous board packs, agendas, or meeting records, you can do this by creating the meeting with a temporary future date first.
Why use a future date?
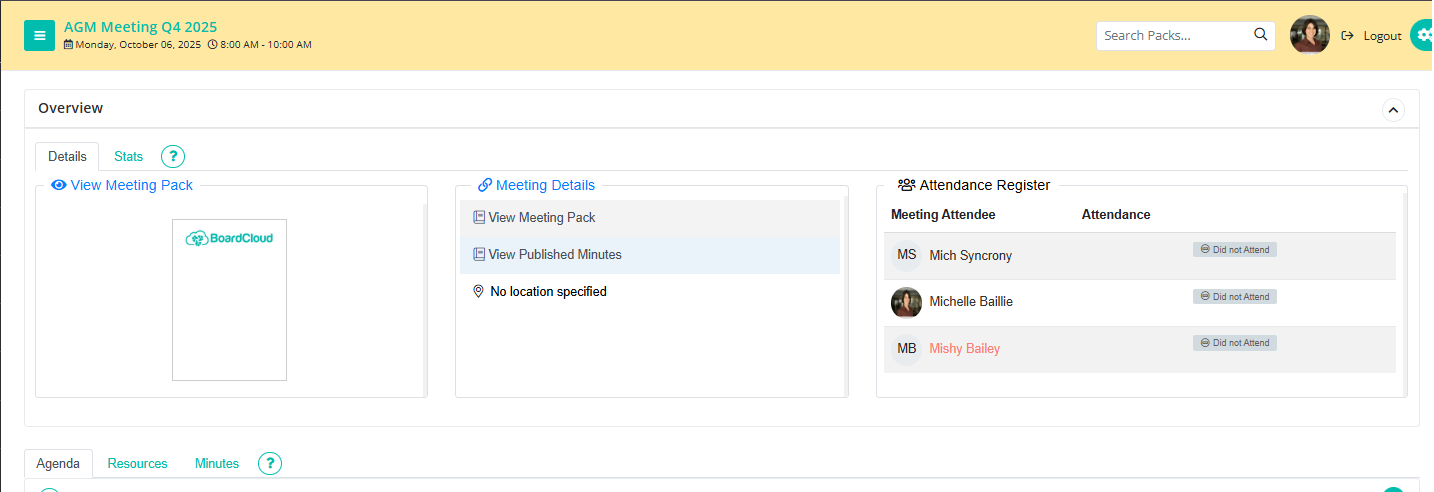
When a meeting is created with a date in the past, BoardCloud automatically treats it as a closed meeting. Closed meetings display a yellow notification band at the top of the meeting page and are locked for editing.
Because the meeting is considered complete, you will not be able to make changes such as:
- Adding or editing agenda items
- Uploading additional documents
- Updating meeting content
To avoid these restrictions, create the meeting using a future date while setting everything up. Once the meeting pack is complete, you can simply change the date back to the original meeting date.
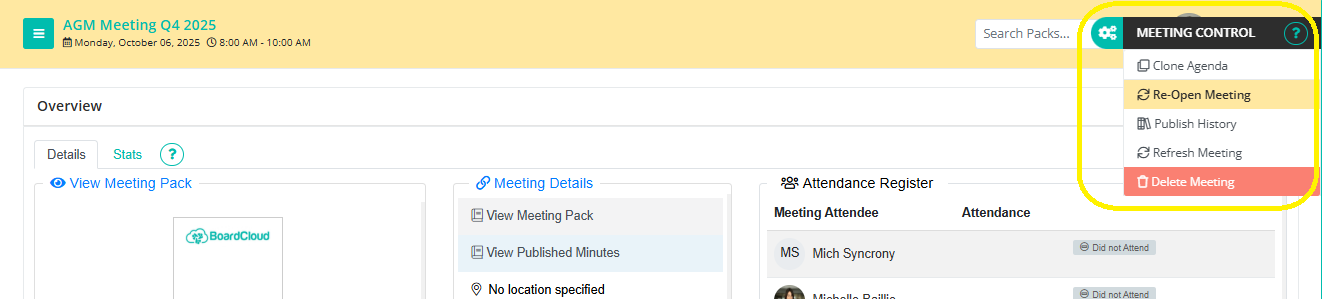
This method can also be used to temporarily "reopen" an existing closed meeting if you need to add an additional document or make changes after the meeting has already passed. Simply change the meeting date to a future date, make your updates, and then change it back again.
Before you begin
Before creating the historical meeting, ensure you have:
- The original meeting date
- The meeting agenda (if applicable)
- Any board pack documents that need to be uploaded
- Supporting documents, minutes, or attachments
Step 1: Create the meeting using a future date
Create the meeting as you normally would:
- Navigate to the committee the meeting was for
- Select Create Meeting
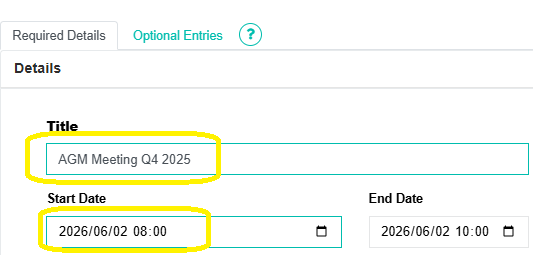
- Enter the meeting details
- Choose a date in the future (this is temporary)
- Save the meeting
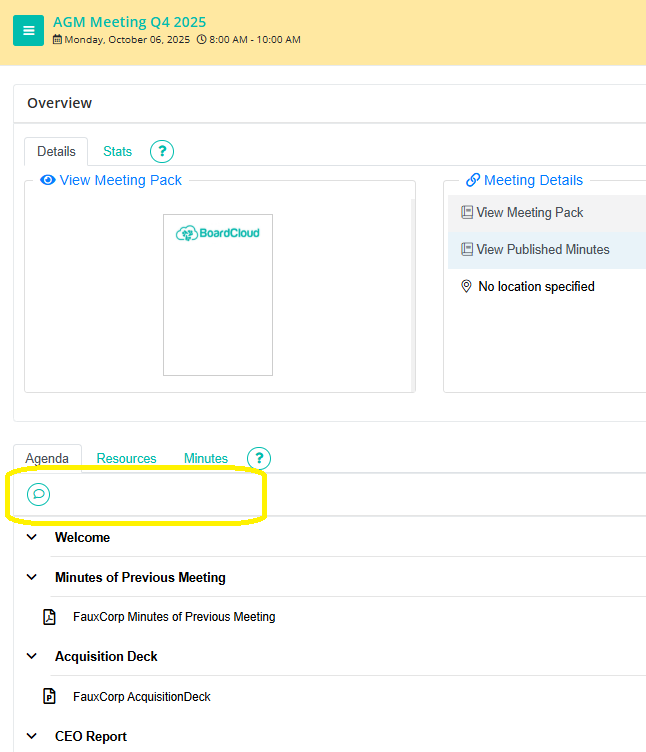
Step 2: Build the agenda and upload documents
Once the meeting has been created:
- Add agenda sections and agenda items
- Upload all required meeting documents
- Review the meeting pack to ensure everything has been added correctly
Complete all uploads before changing the date back to the historical date.
Step 3: Change the meeting date to the original date
Once the meeting pack is complete:
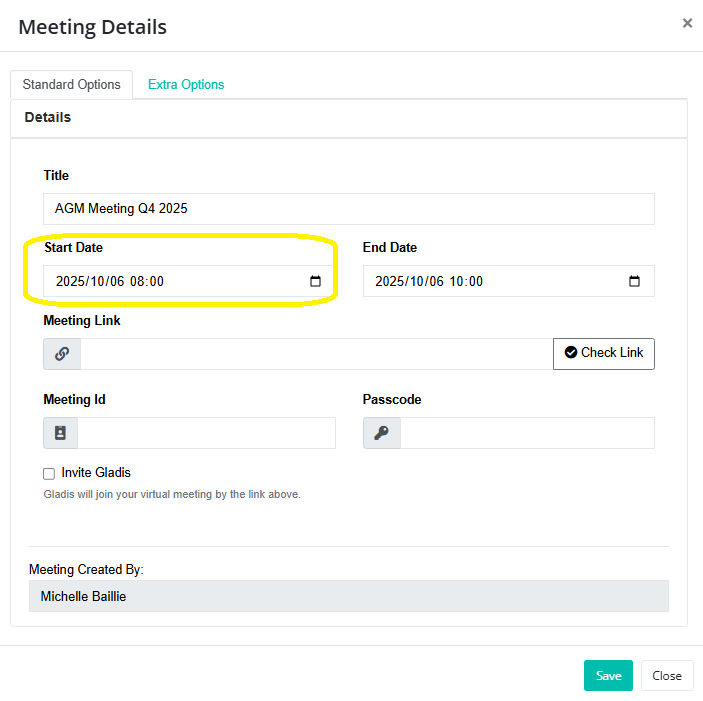
- Open the meeting
- Click the blue Meeting Details link in the center of the meeting page

- Change the meeting date to the original date on which the meeting took place. There will be a pop up informing you that the meeting date is in the past. You can just click OK.
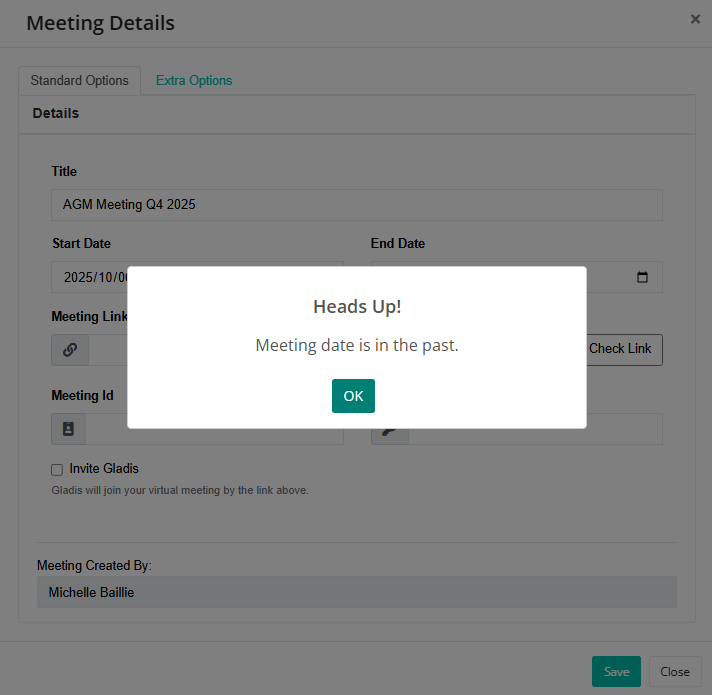
- Click Save
After saving, BoardCloud may display a notification asking whether you would like to send updated meeting date and time notifications to members.
Since you are only changing the date for administrative purposes and are not rescheduling a live meeting, select Close.
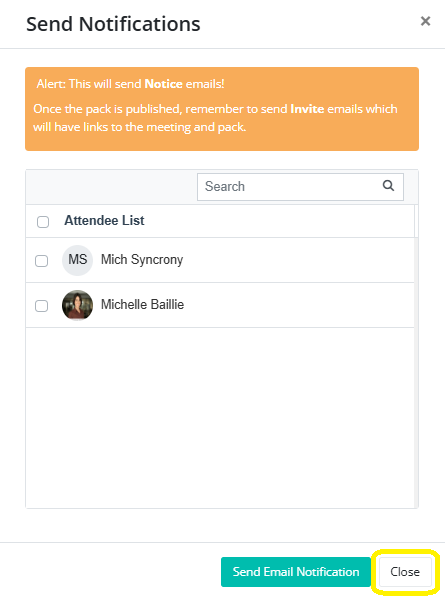
Sending notifications could cause unnecessary confusion for members, as they may receive an email suggesting that the meeting date has changed.
Final result
Your historical meeting will now appear in BoardCloud with the correct meeting date while still containing the complete agenda and supporting documents. Historical meetings can be used for archiving previous board packs and records. It is recommended that all documents are uploaded before updating the date. Meeting content and documents remain intact after changing the date.